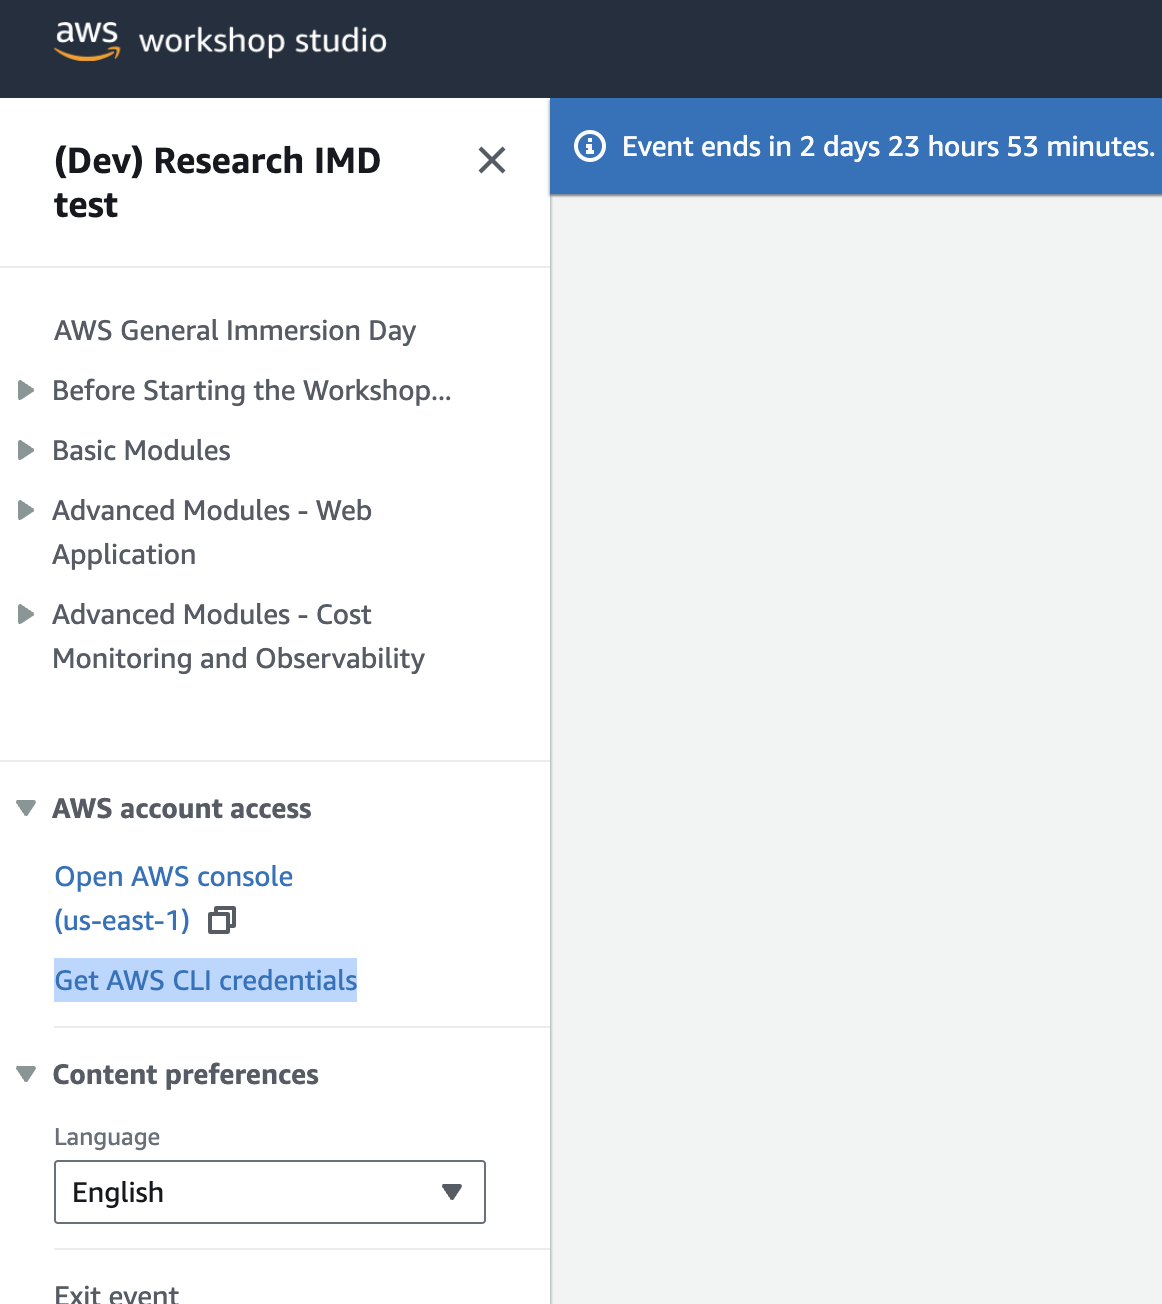
리눅스 머신 실행
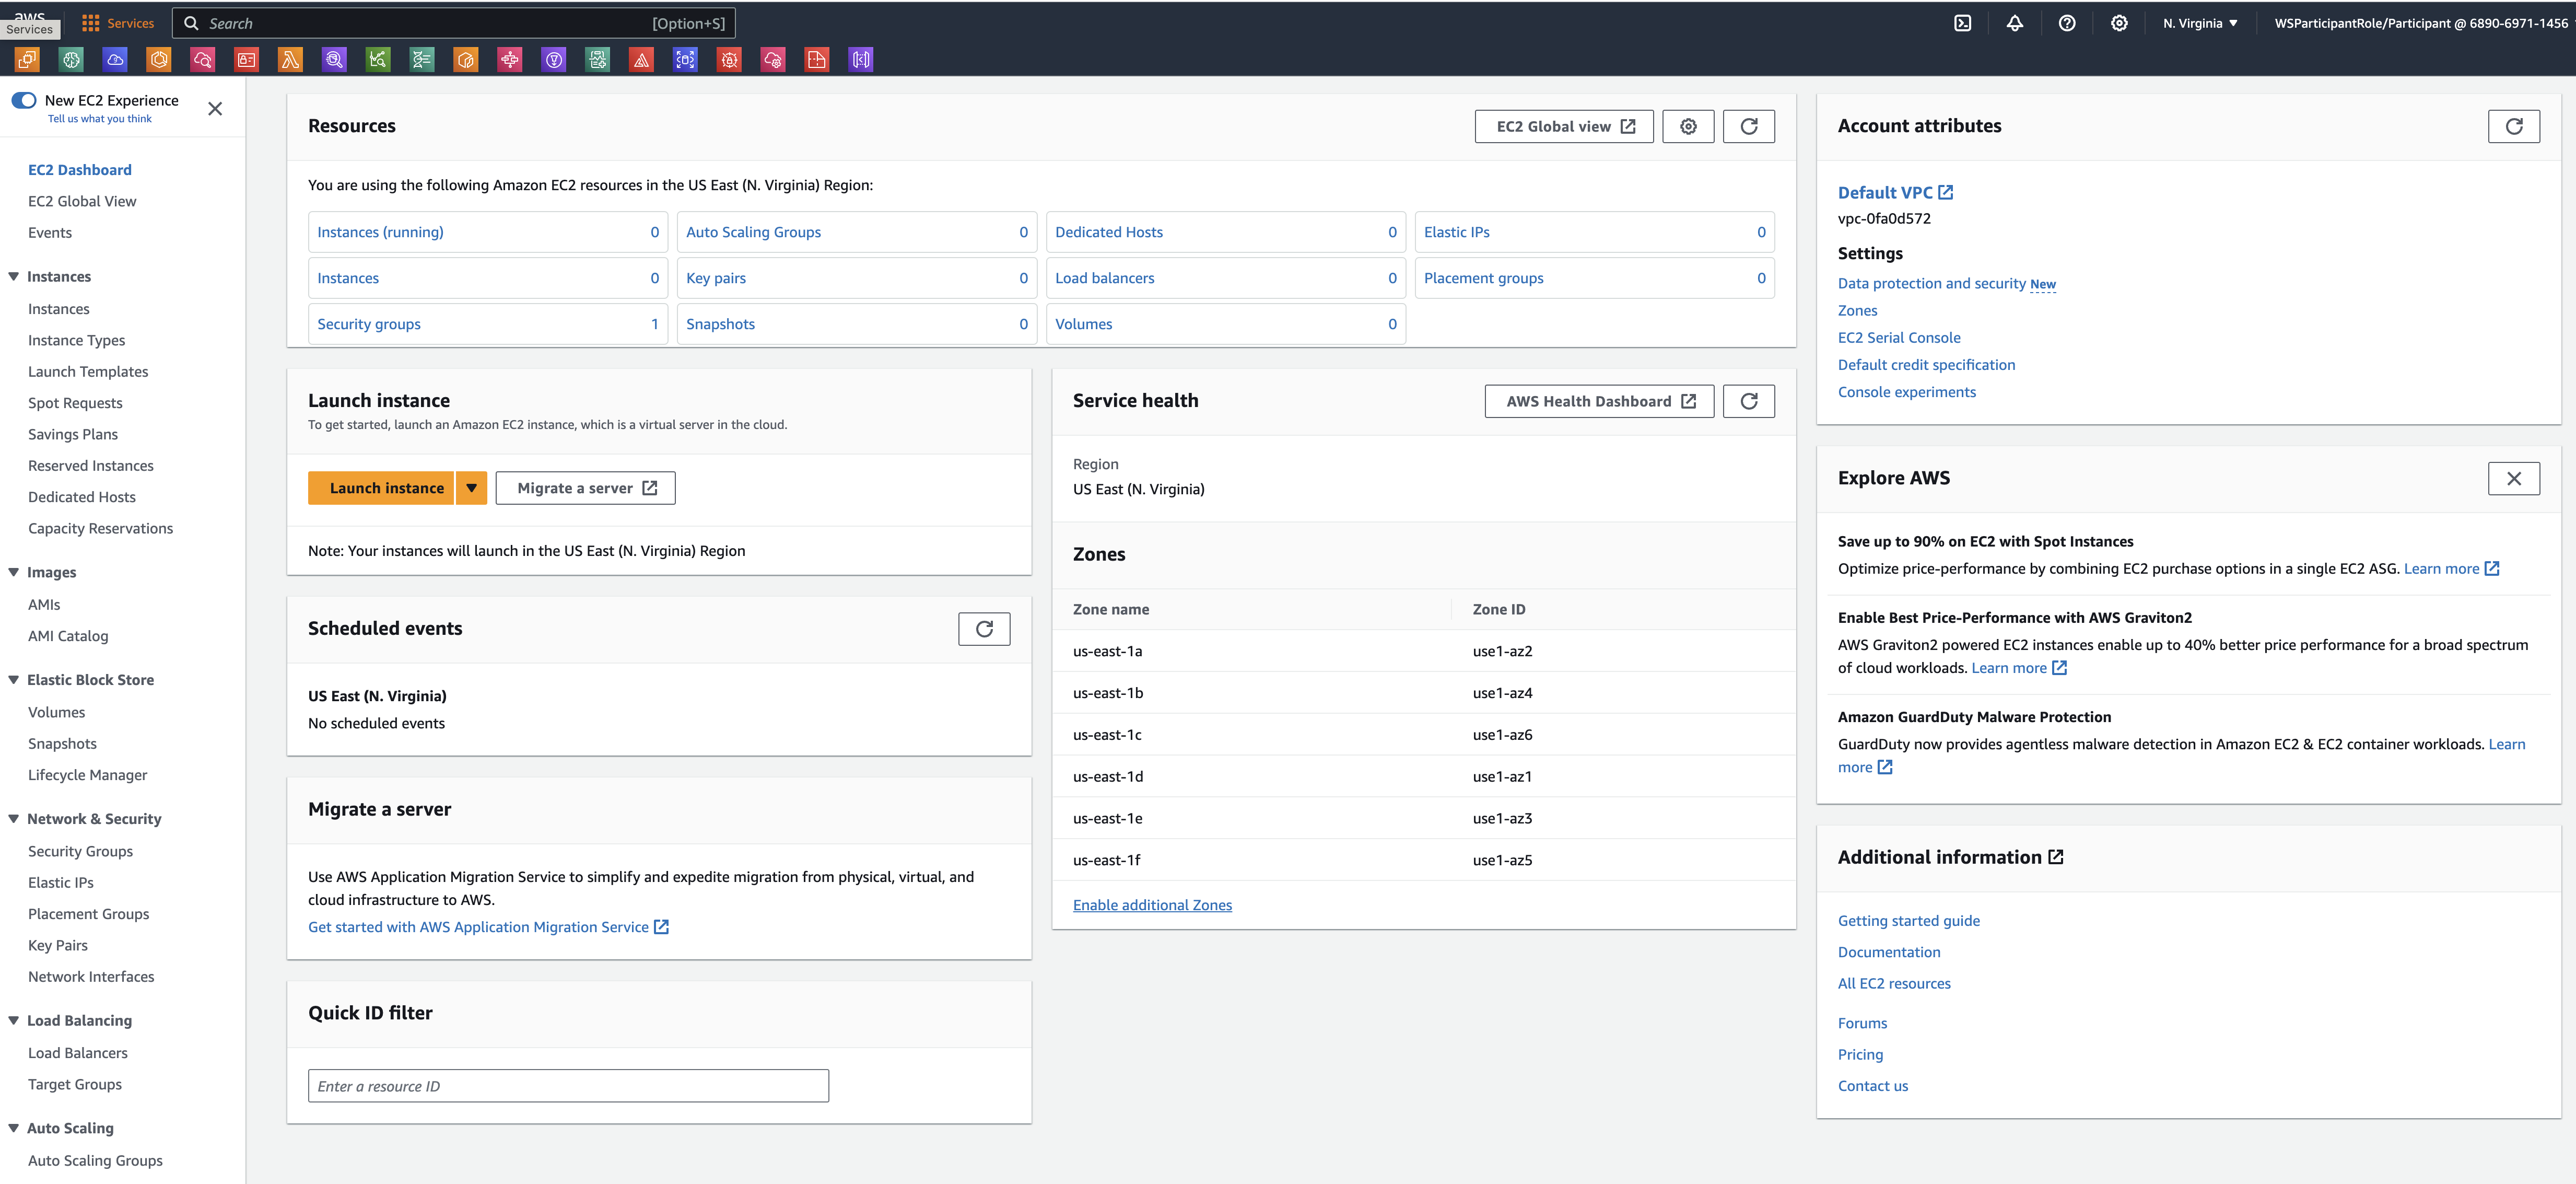
Launch the EC2 Dashboard
In the AWS Management Console search bar, type EC2
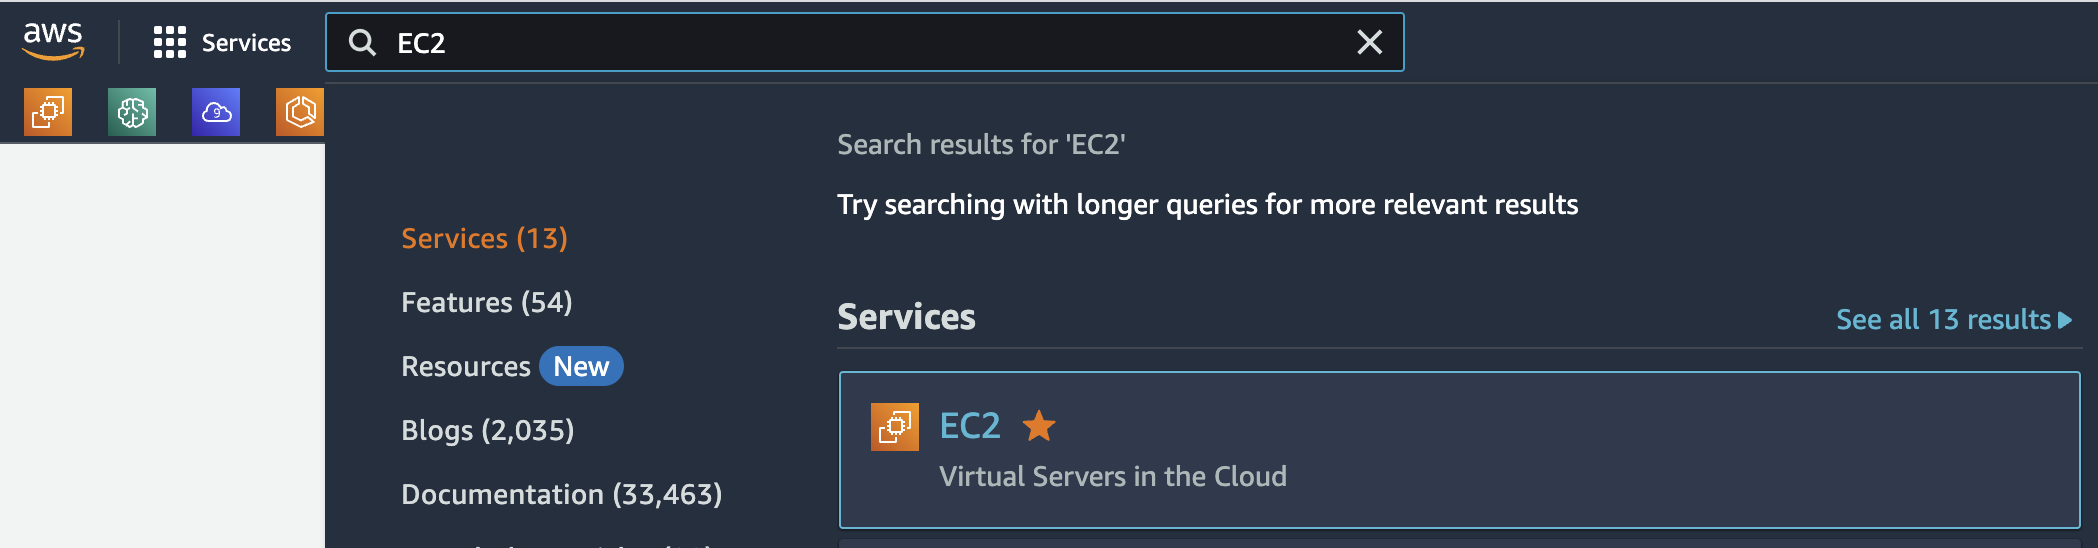
Choose EC2 to open the EC2 Dashboard.
Instances may be launched via a graphical user interface (the console) or with command line scripts. We’ll start with the graphical console interface first, known as the EC2 Dashbord.
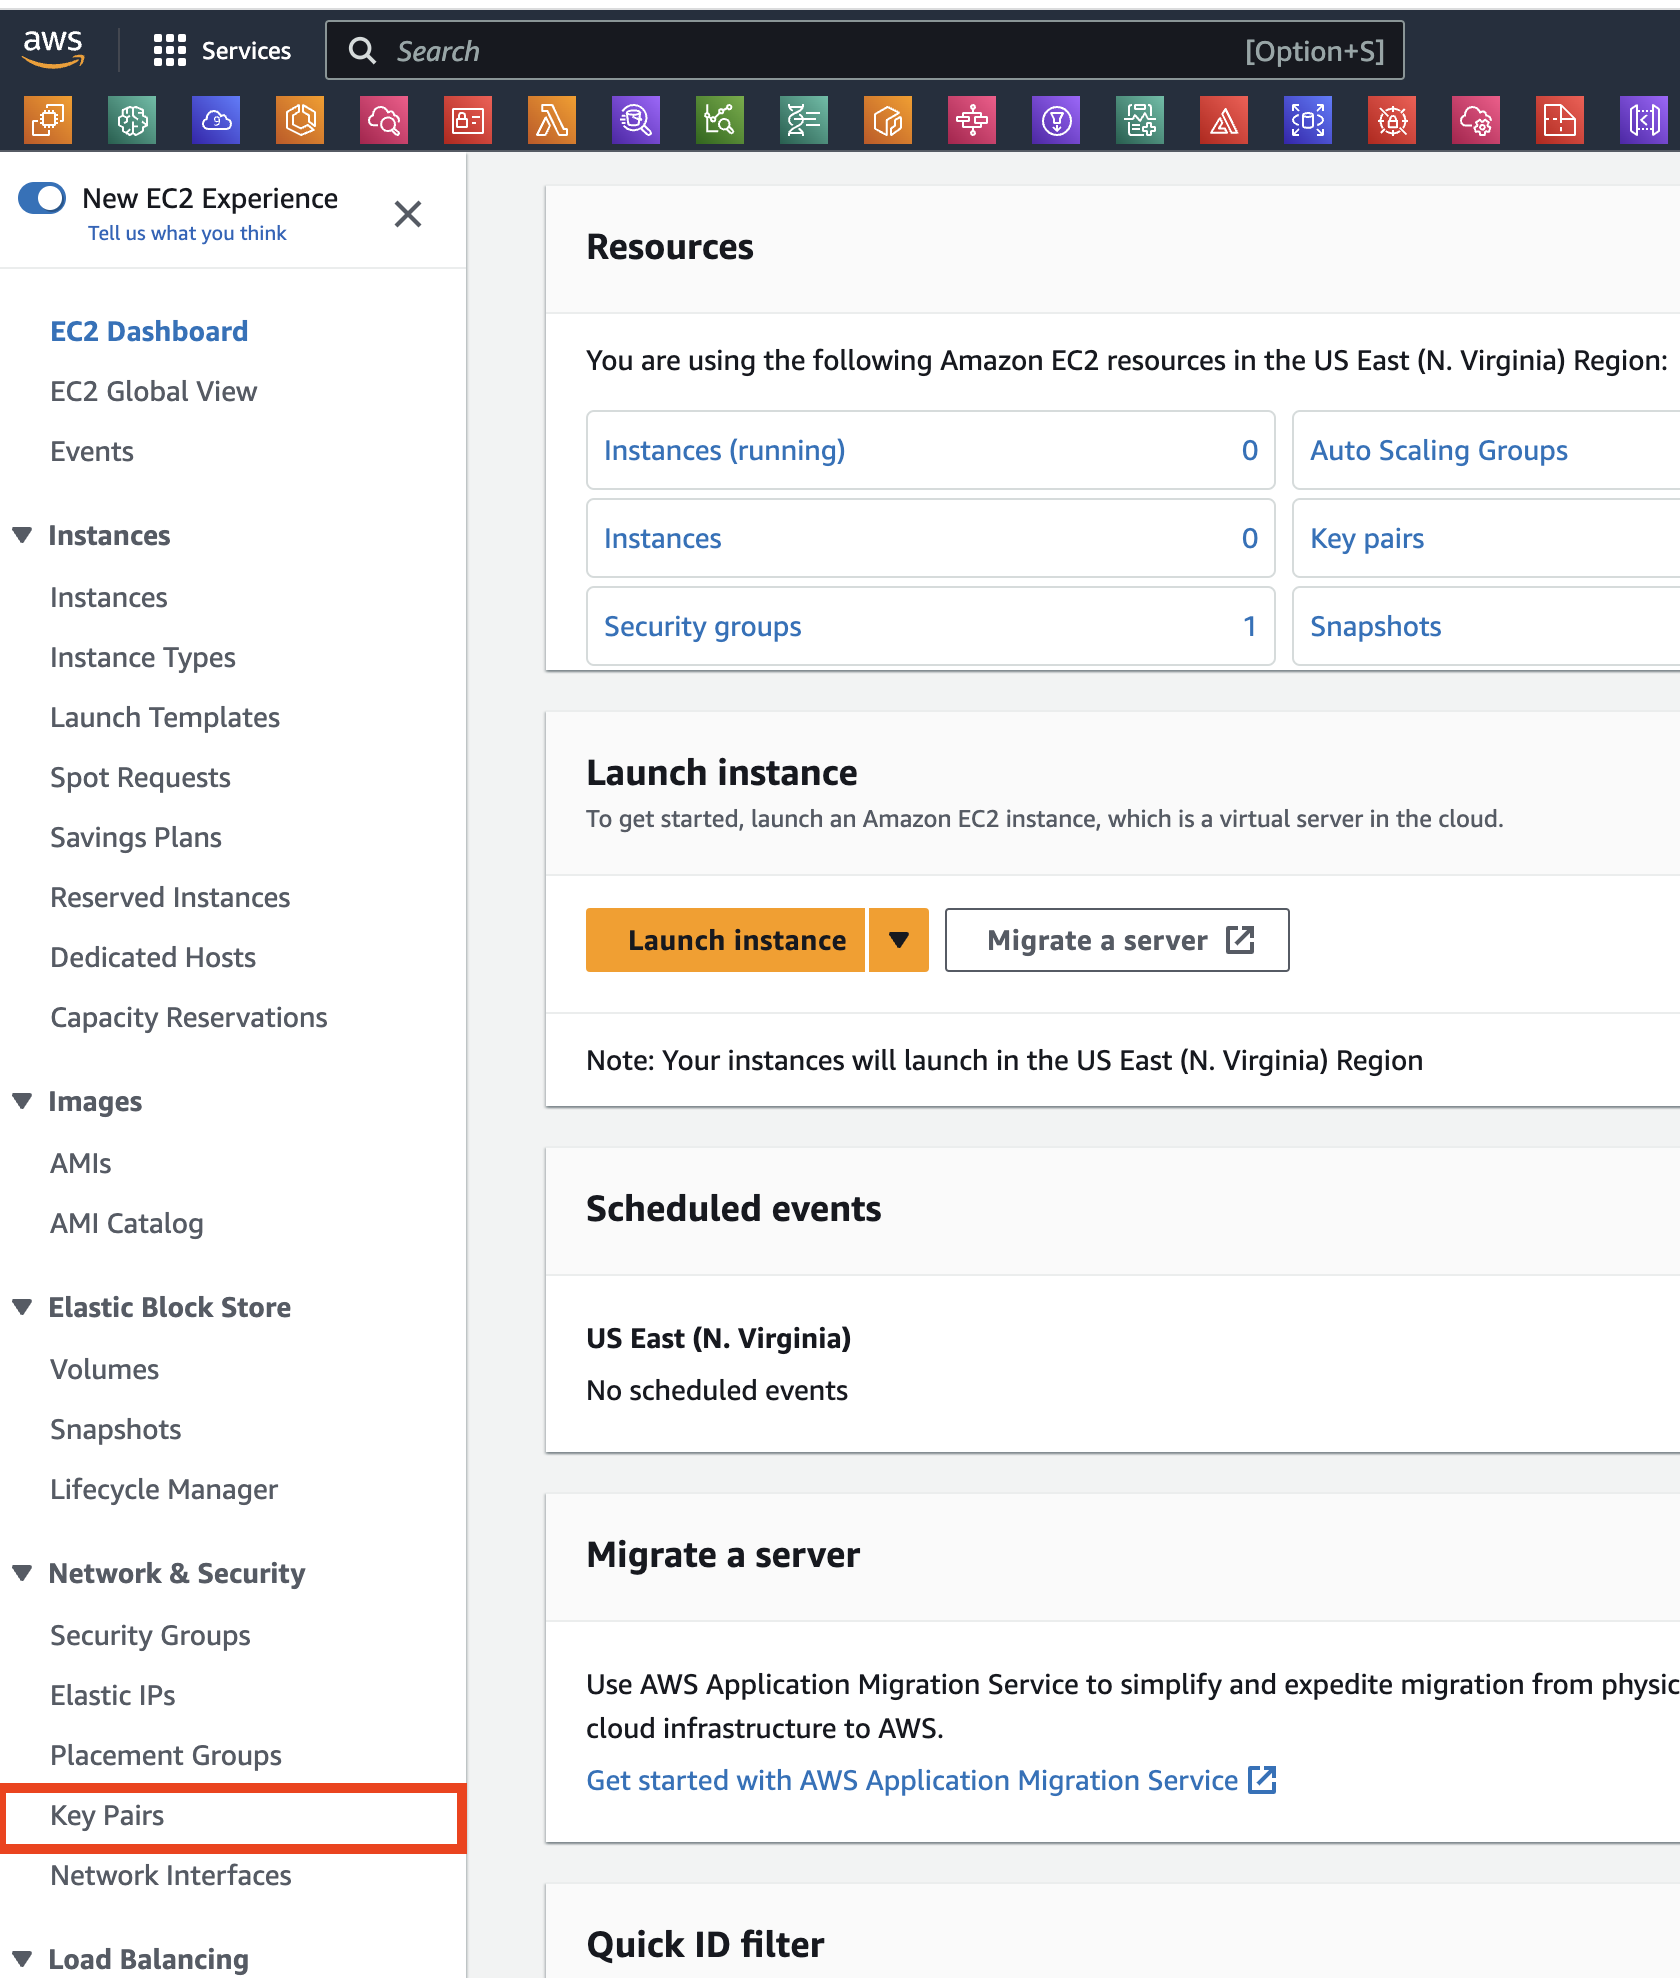
Spend a few minutes familiarizing yourself with the layout of the dashboard:
Left Navigation pane: Tools and features, such as the saved Amazon Machine Images (AMIs), storage volumes, and ssh keys. Center: Resource listings and the ability to launch an instance. Right pane: General information, such as documentation and pricing.
Create a new Key Pair (Optional)
In this section of the lab you will create a Linux instance and login to it to run a few Linux commands. To log in to an instance, you need to be able to connect via SSH. There are several layers of security for accessing instances that are enabled by default by AWS. One of these is with an SSH key pair, which can (very roughly) be thought of as like a unique username and password.
The following steps outline how to create a new SSH key pair that then you will use to log in to a new Linux instance.
Sign into the AWS Management Console and open the Amazon EC2 console at https://console.aws.amazon.com/ec2
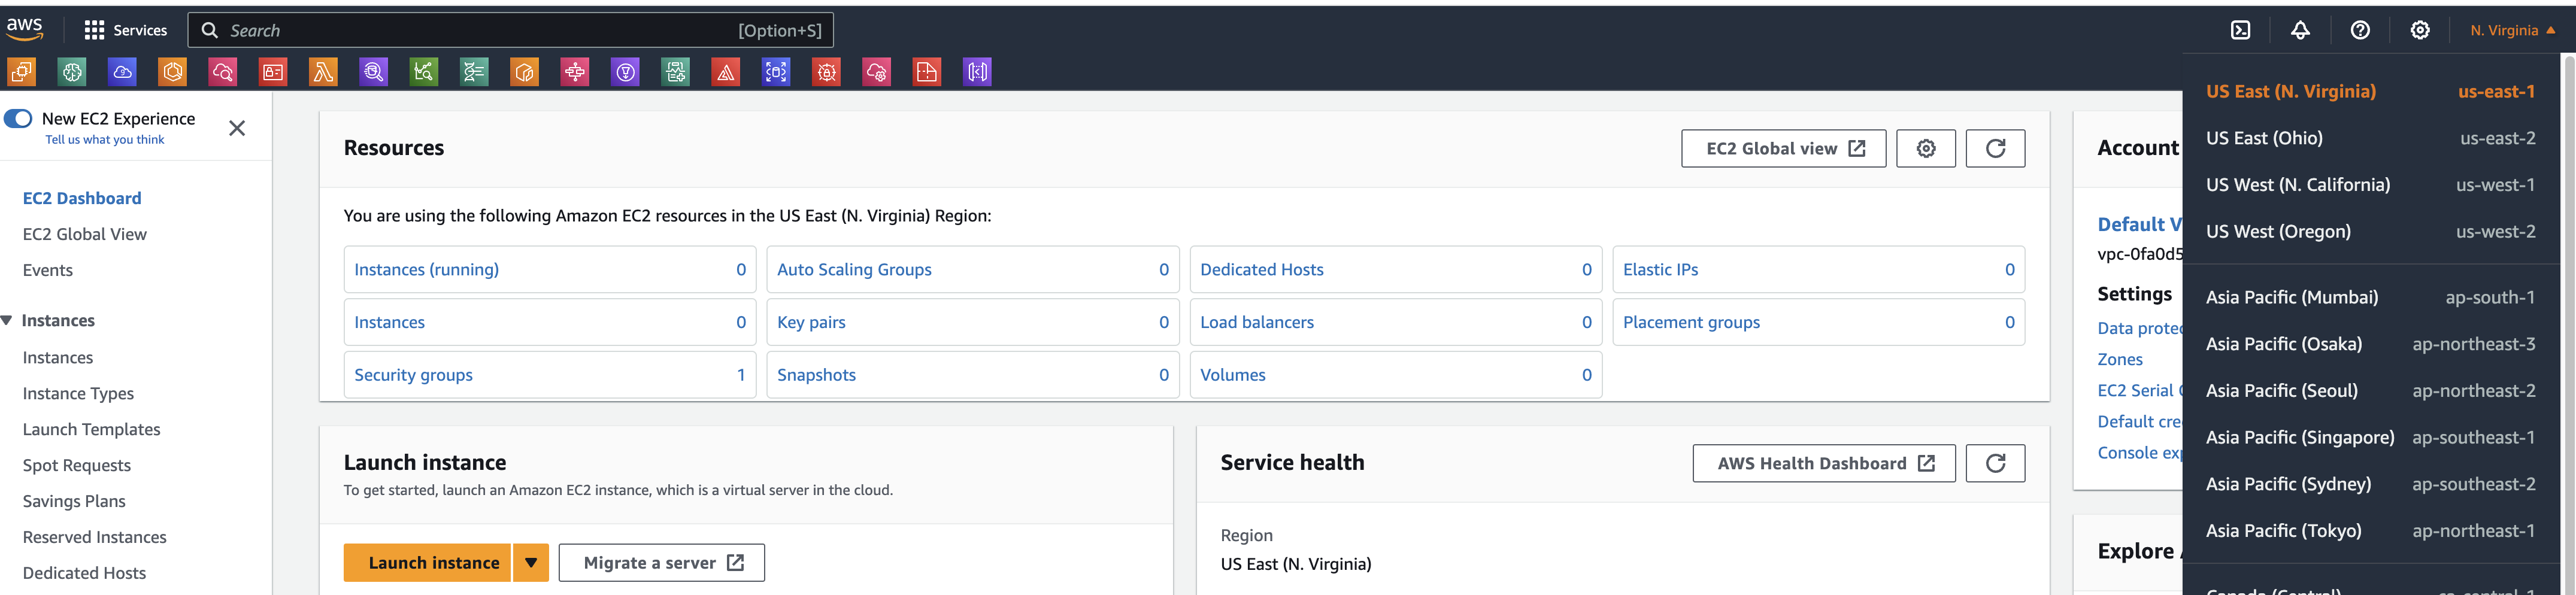
In the upper-right corner of the AWS Management Console, confirm you are in the desired AWS region (e.g., N.Virginia).

NOTE: For the purpose of this workshop please provide a unique key pair name, so that it might not clash with key pair names provided by other participants using the same AWS account. You could use your name initials in the key pair for easy identification.
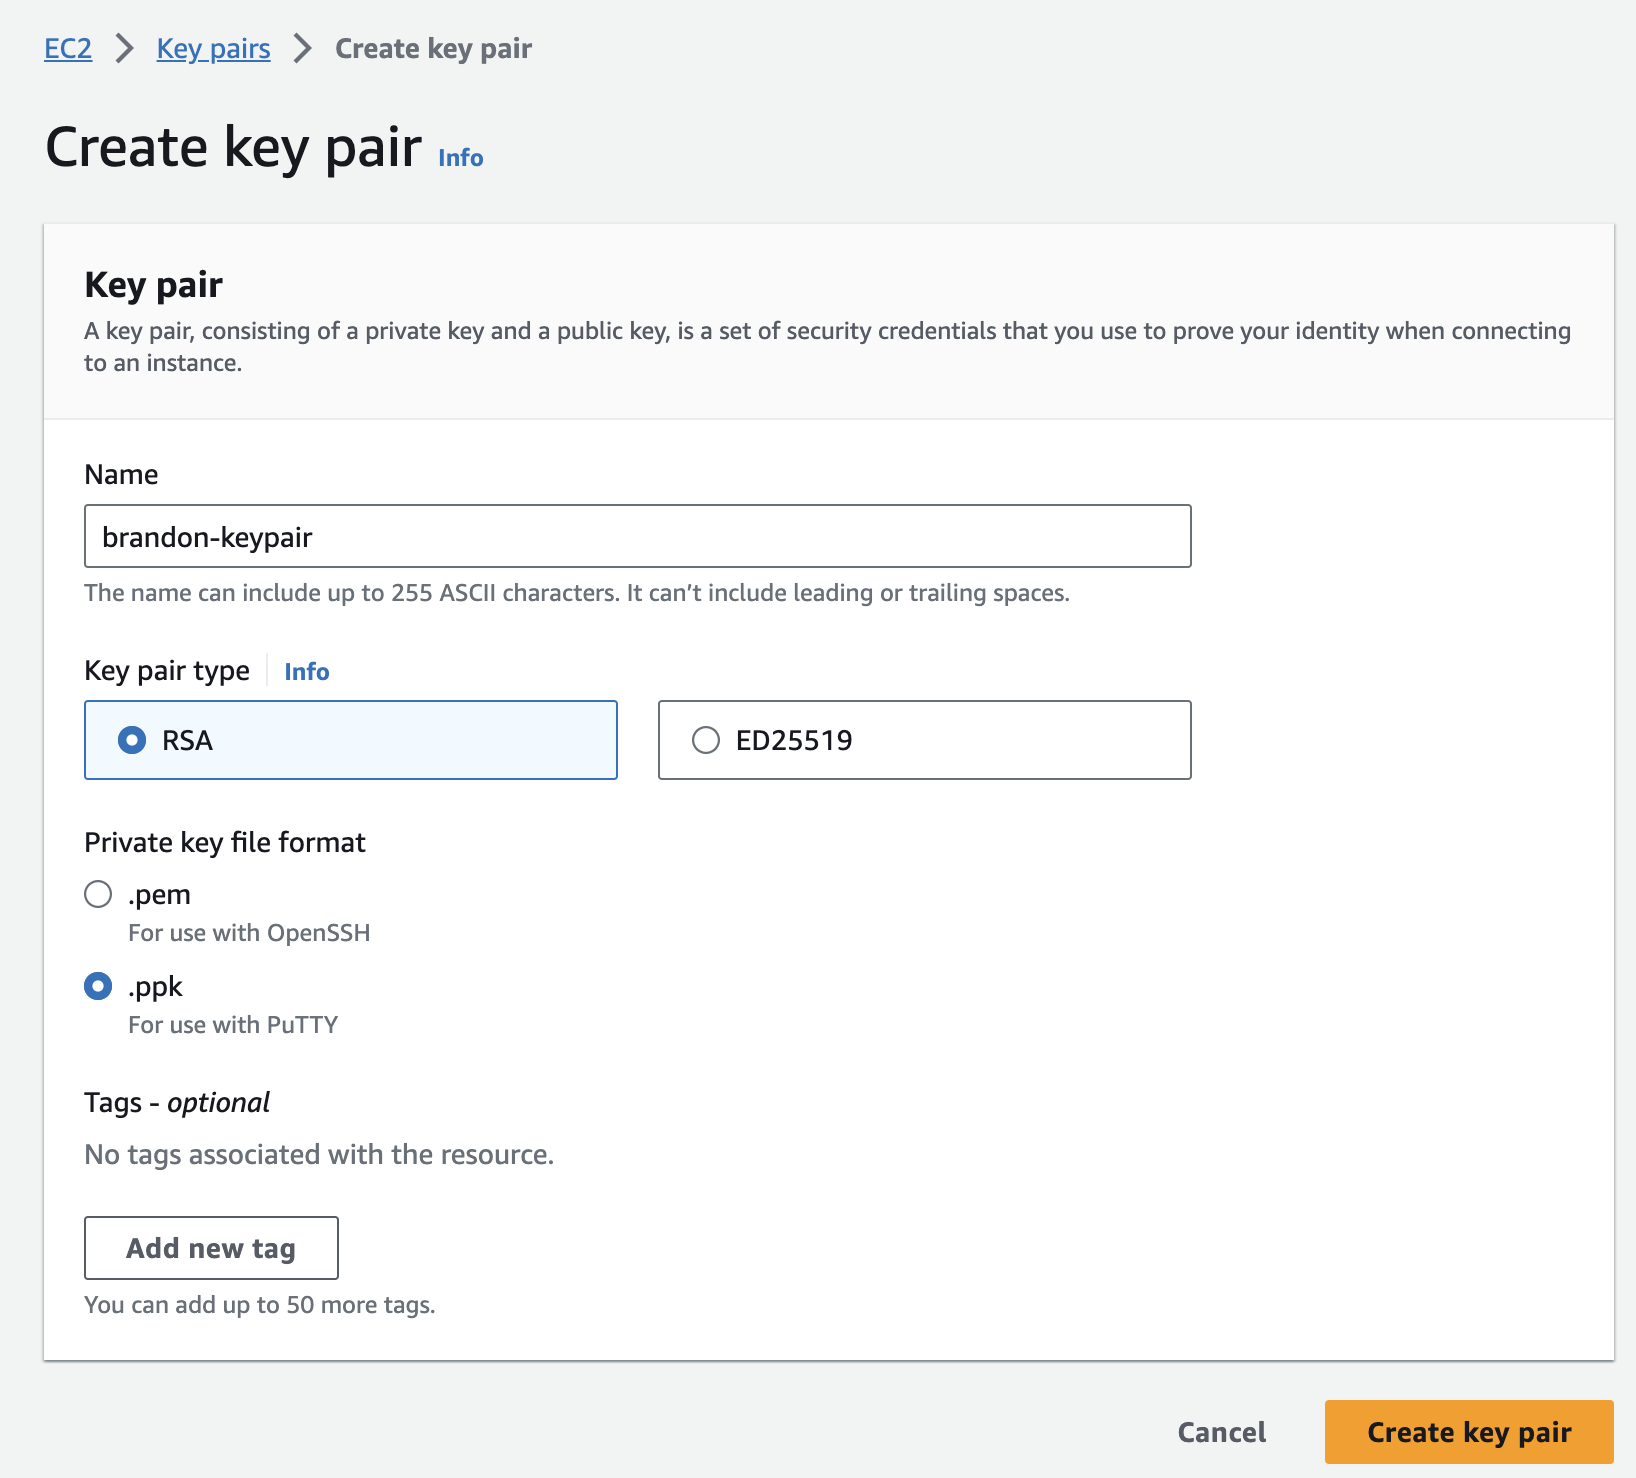
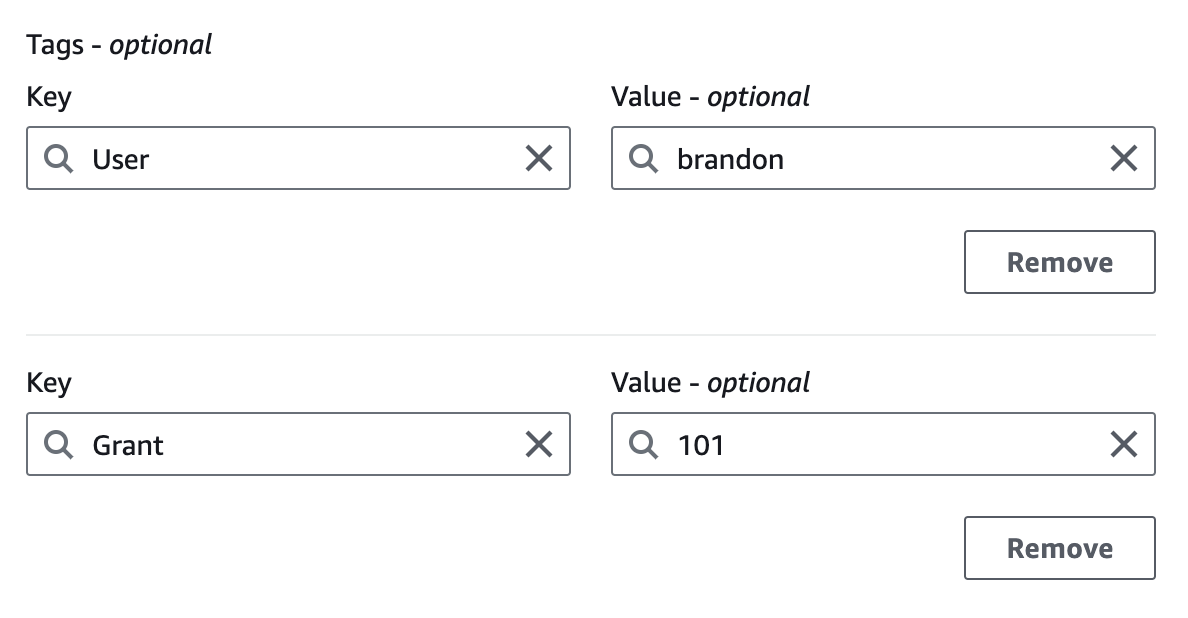
The key pair you created should automatically download to your system. Follow any browser instructions to save the file to the default download location. Verify that the file has downloaded and you can locate it. Remember the full path to this .ppk/pem file you just downloaded. This file contains your private key for future SSH connections.
You will see a message appear at the top of the screen that says Successfully created key pair. You will see the key pair you created listed.
Launch an EC2 Instance
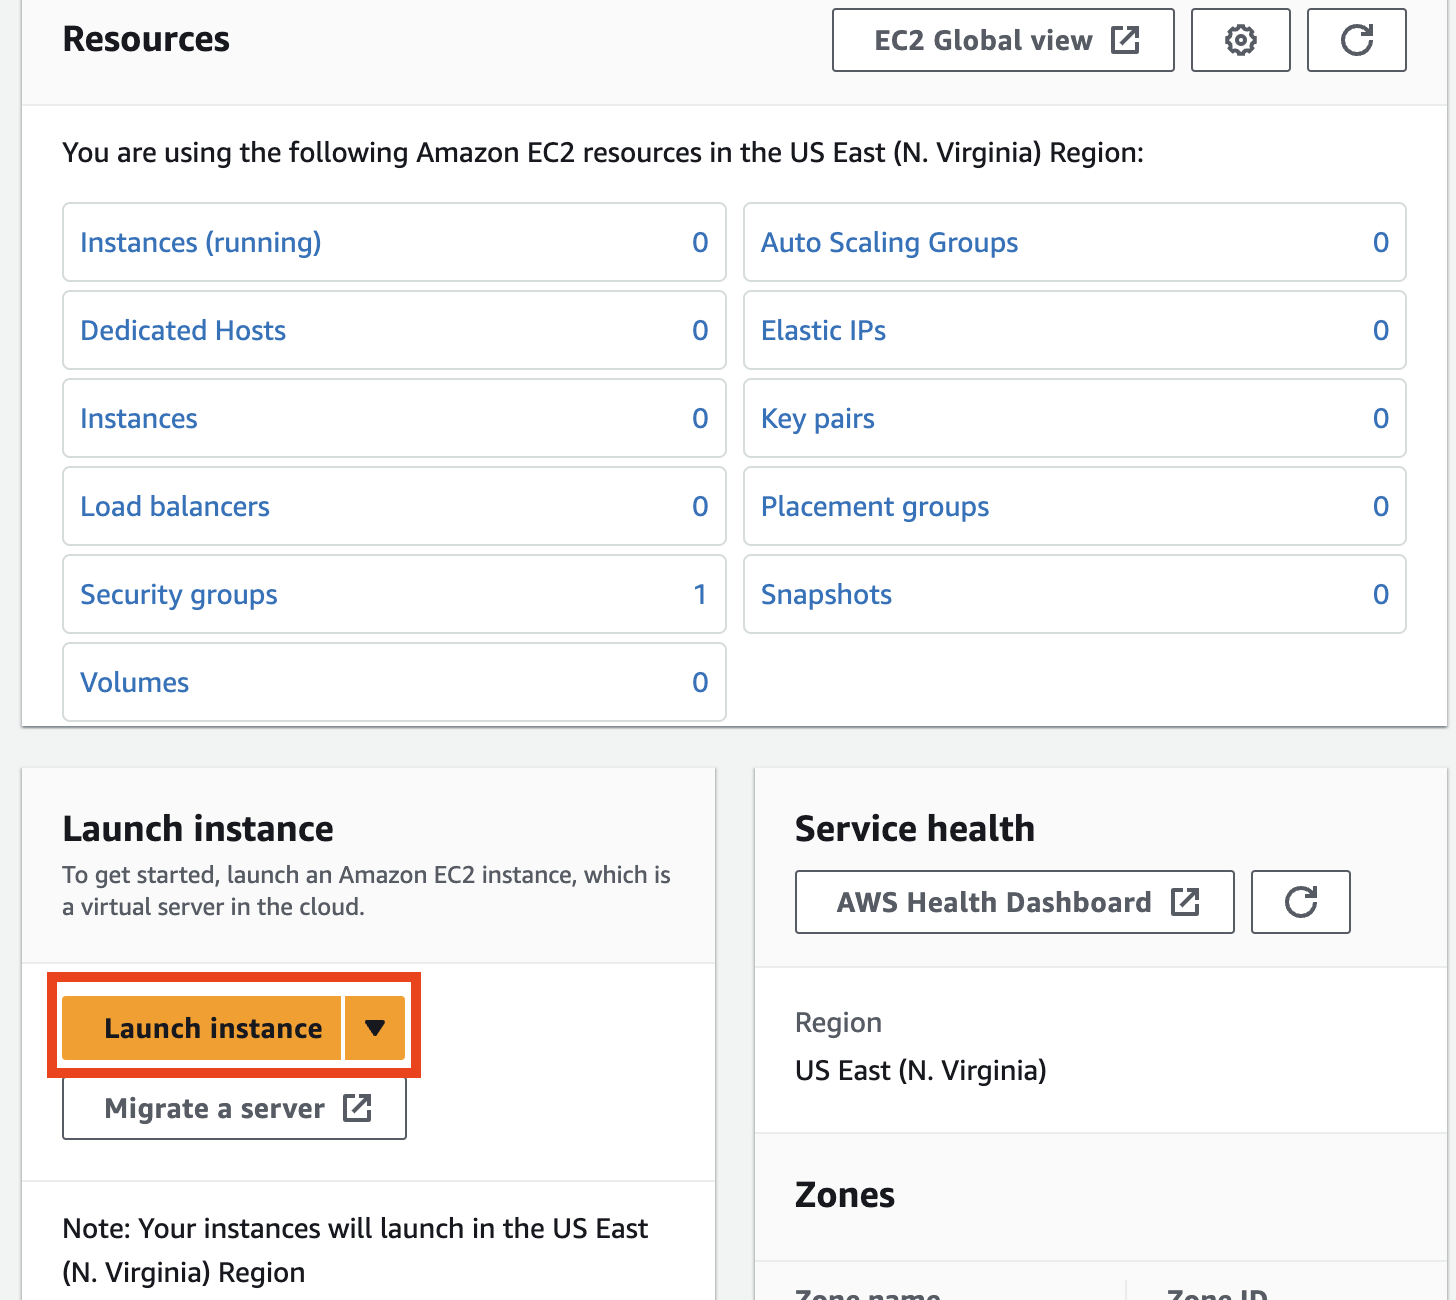
We will now launch an EC2 Linux based instance.
Return to the AWS Management Console and open the Amazon EC2 Dashboard.
In the upper-right corner of the AWS Management Console, confirm you are in the desired AWS region (e.g., N. Virginia).
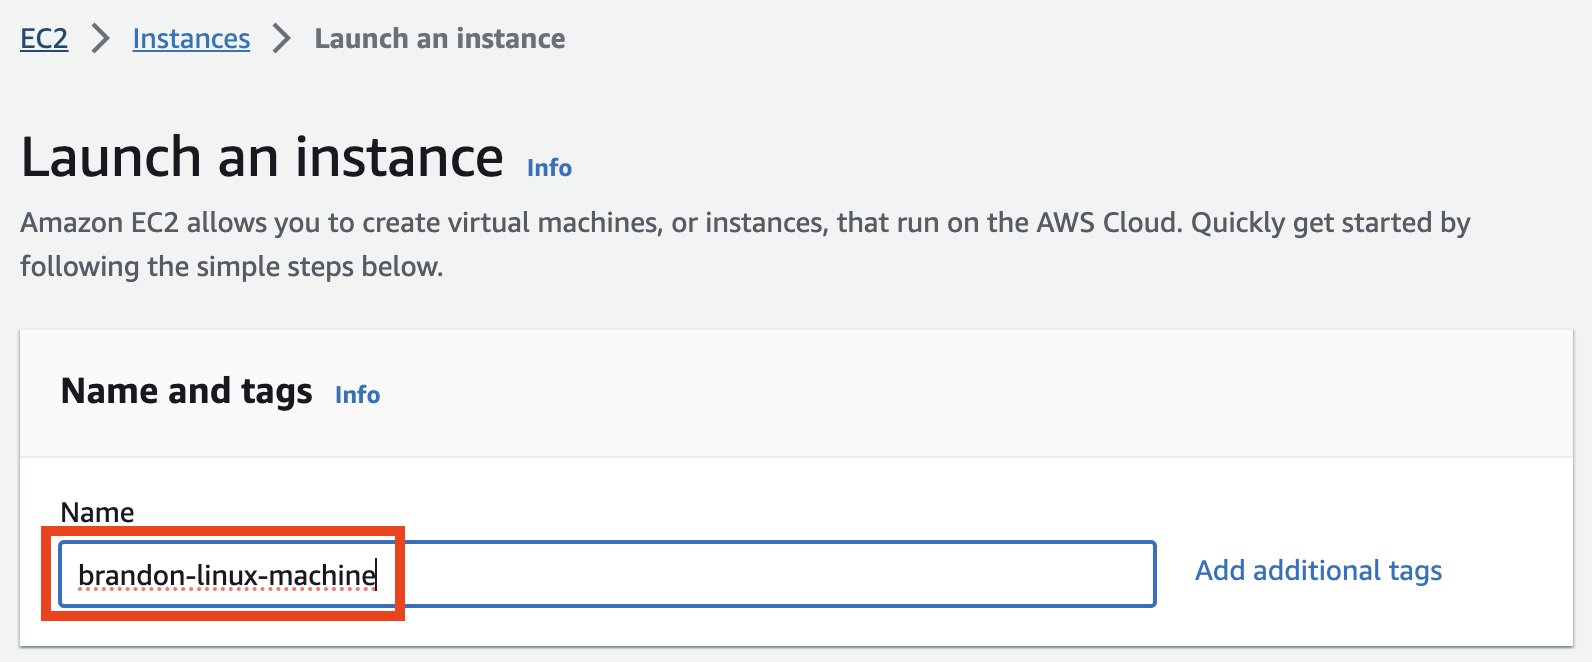
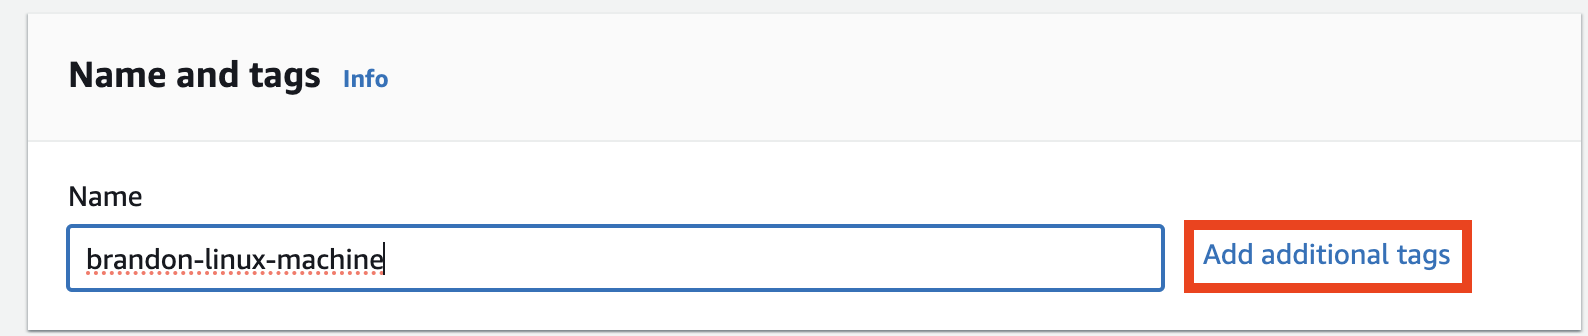
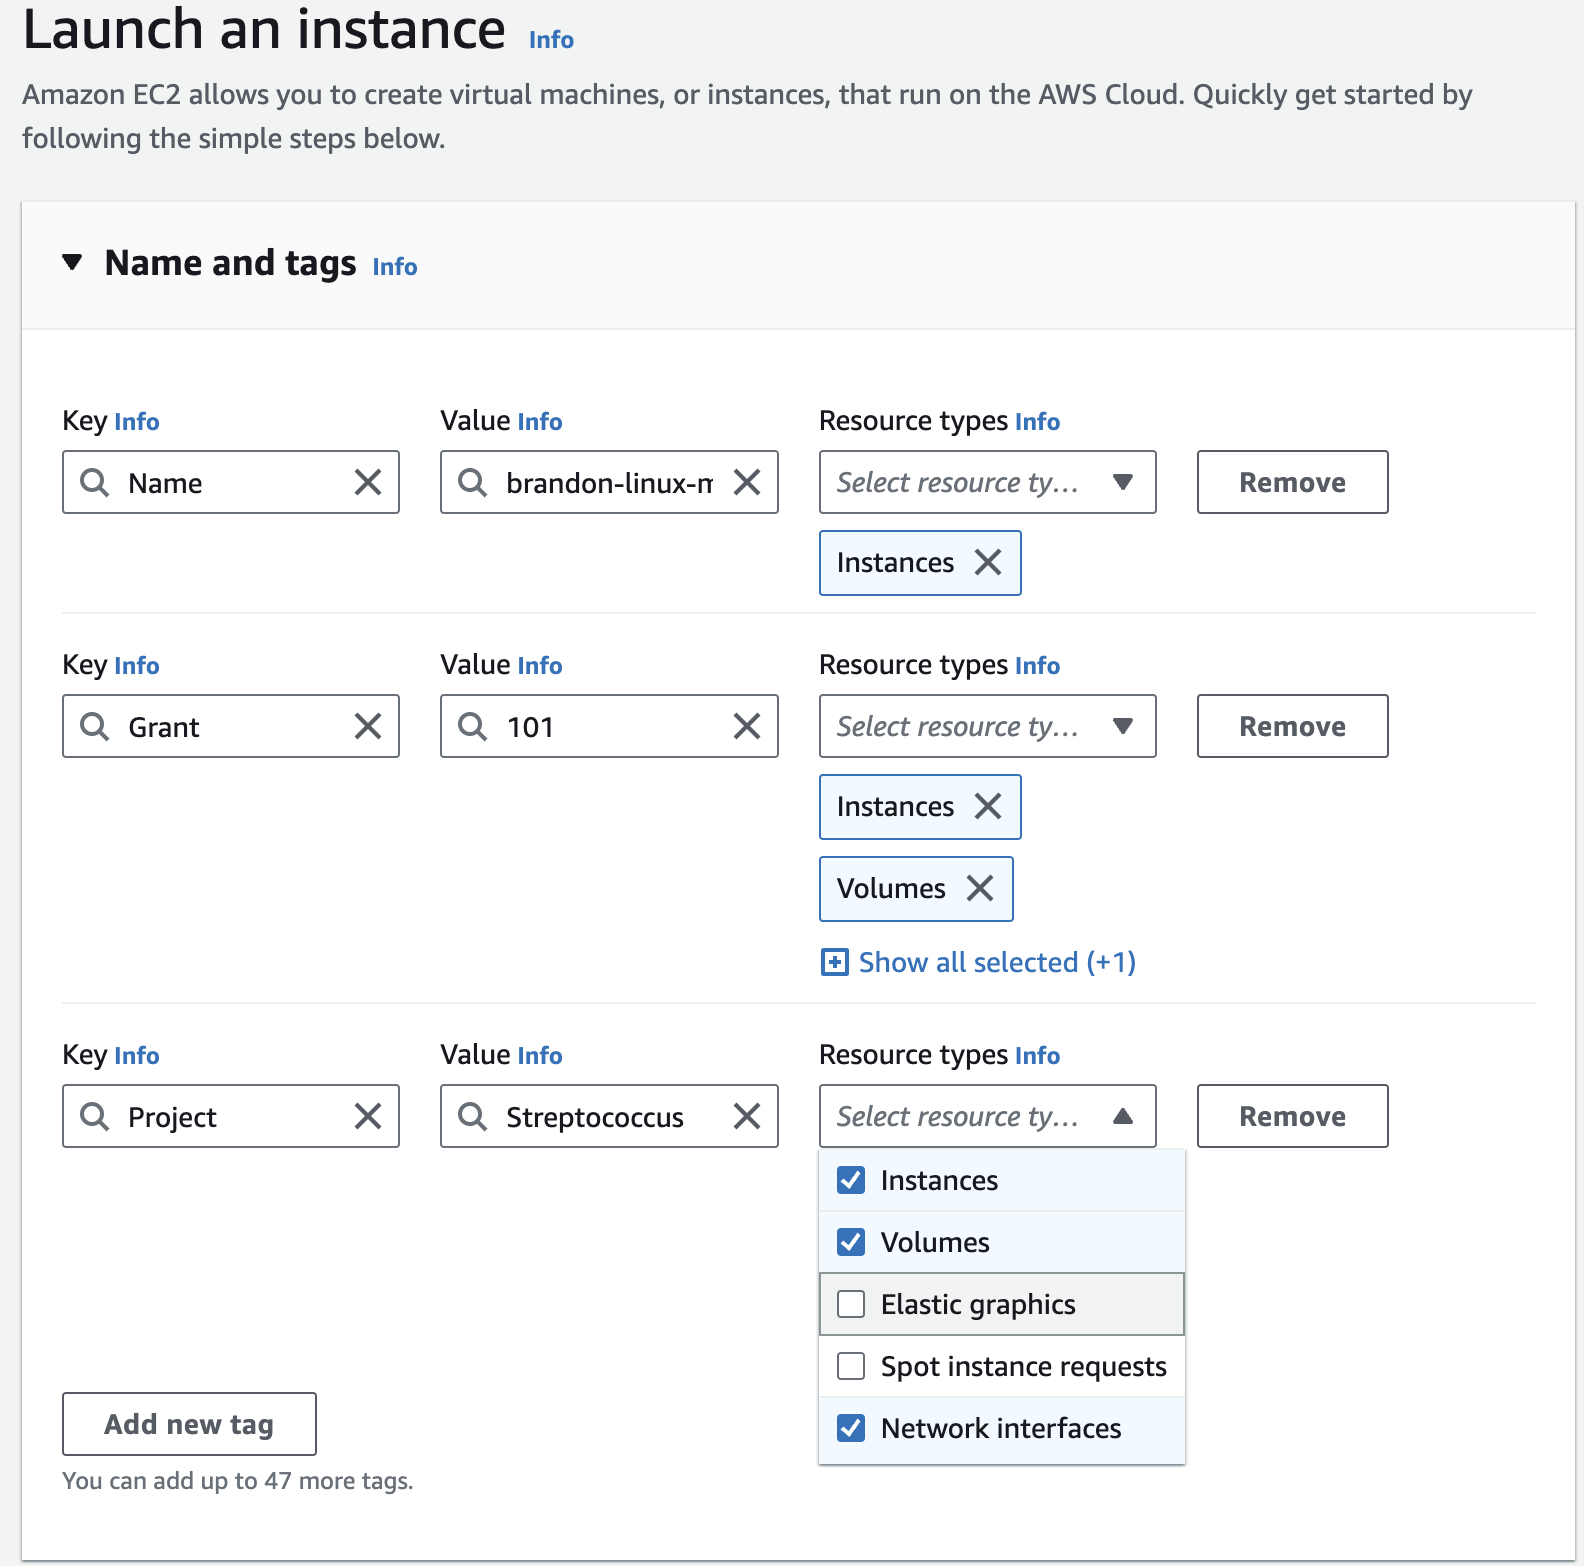
NOTE: The ami-xxxxxxxxx label and specific versions of the installed package may be different than in the image below.
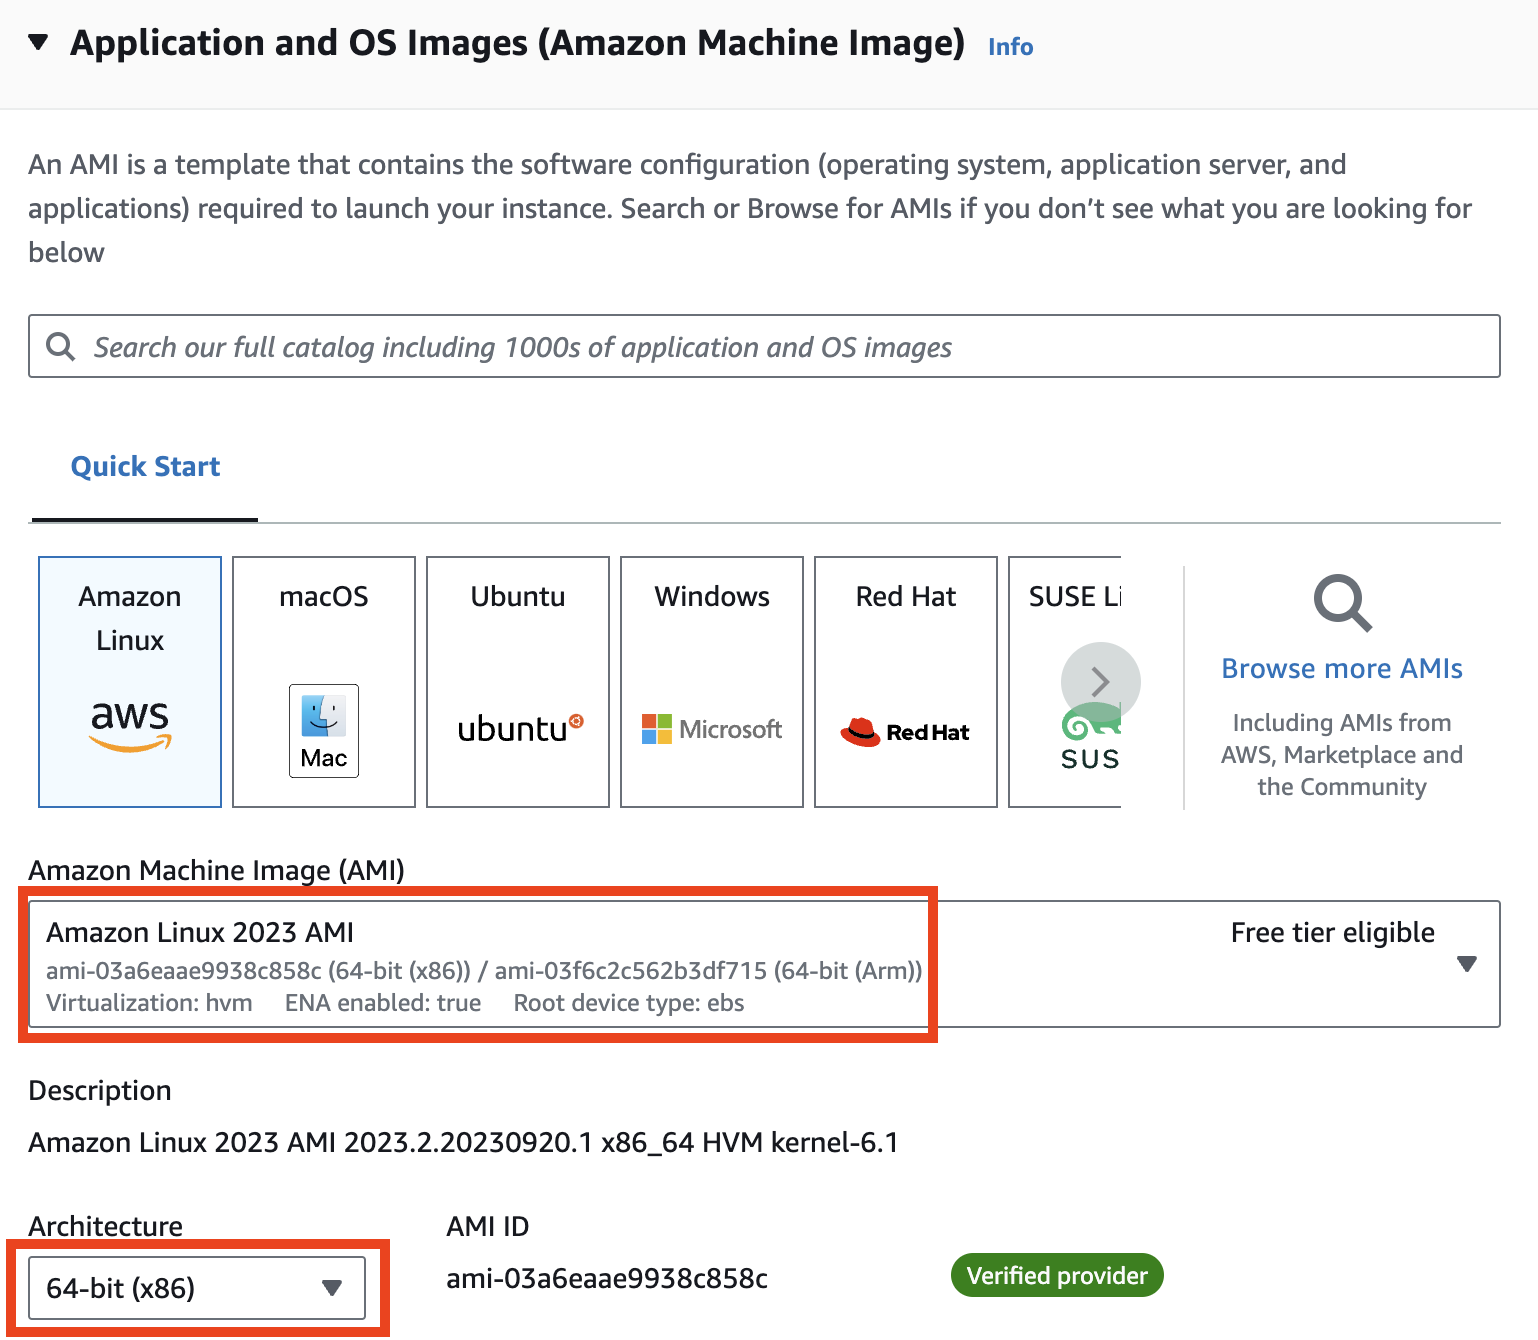
Note: This is a somewhat large instance; in general, you should pick these instances based on an analysis of how much RAM and CPU you will need for your job / analysis.
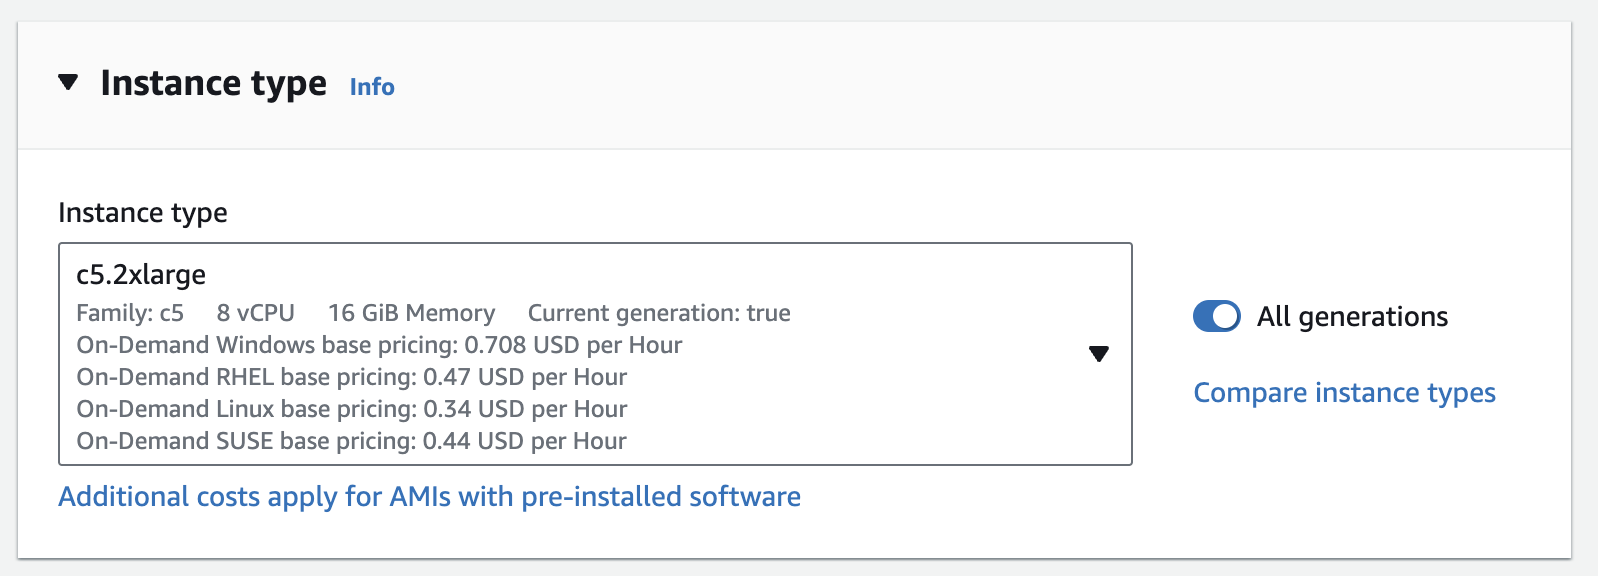
Note: This is a somewhat large instance; in general, you should pick these instances based on an analysis of how much RAM and CPU you will need for your job / analysis.
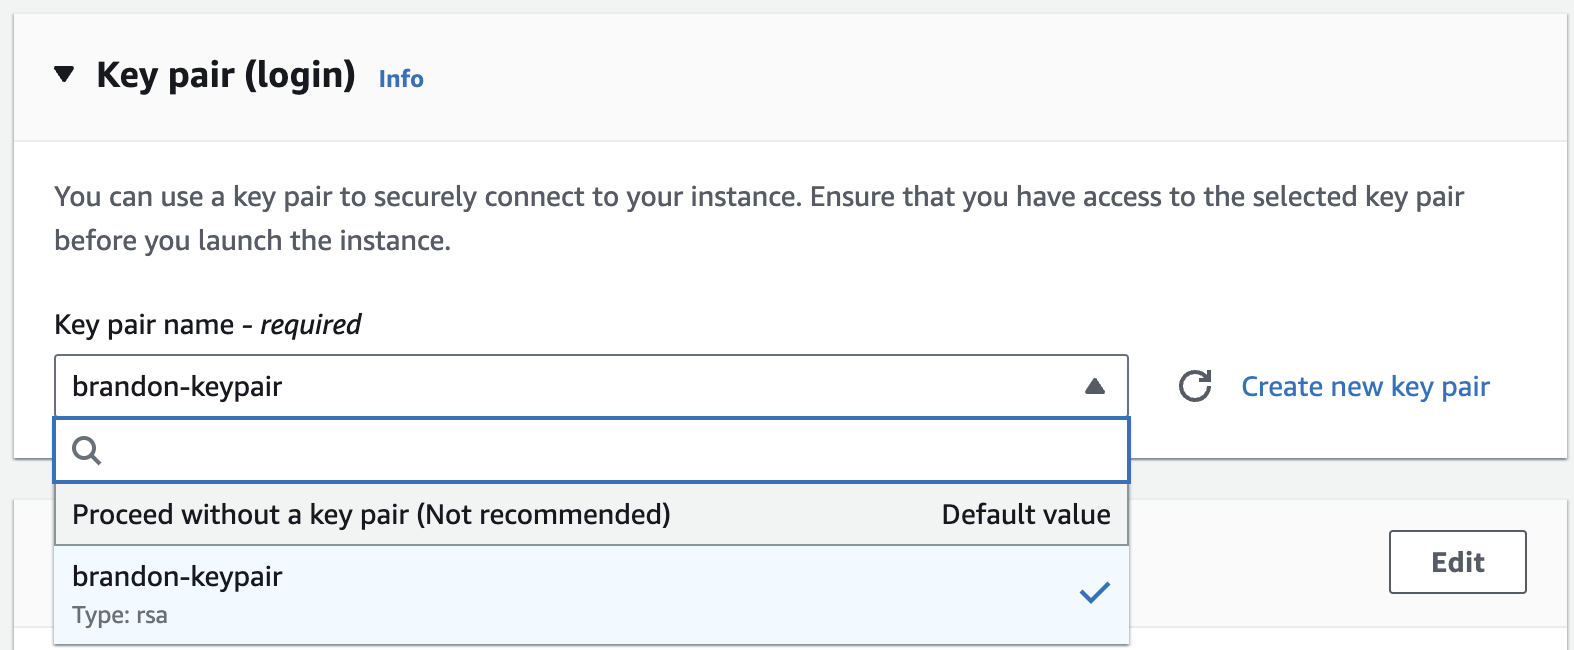
앞에서 본인이 만들었던 키페어를 선택합니다!
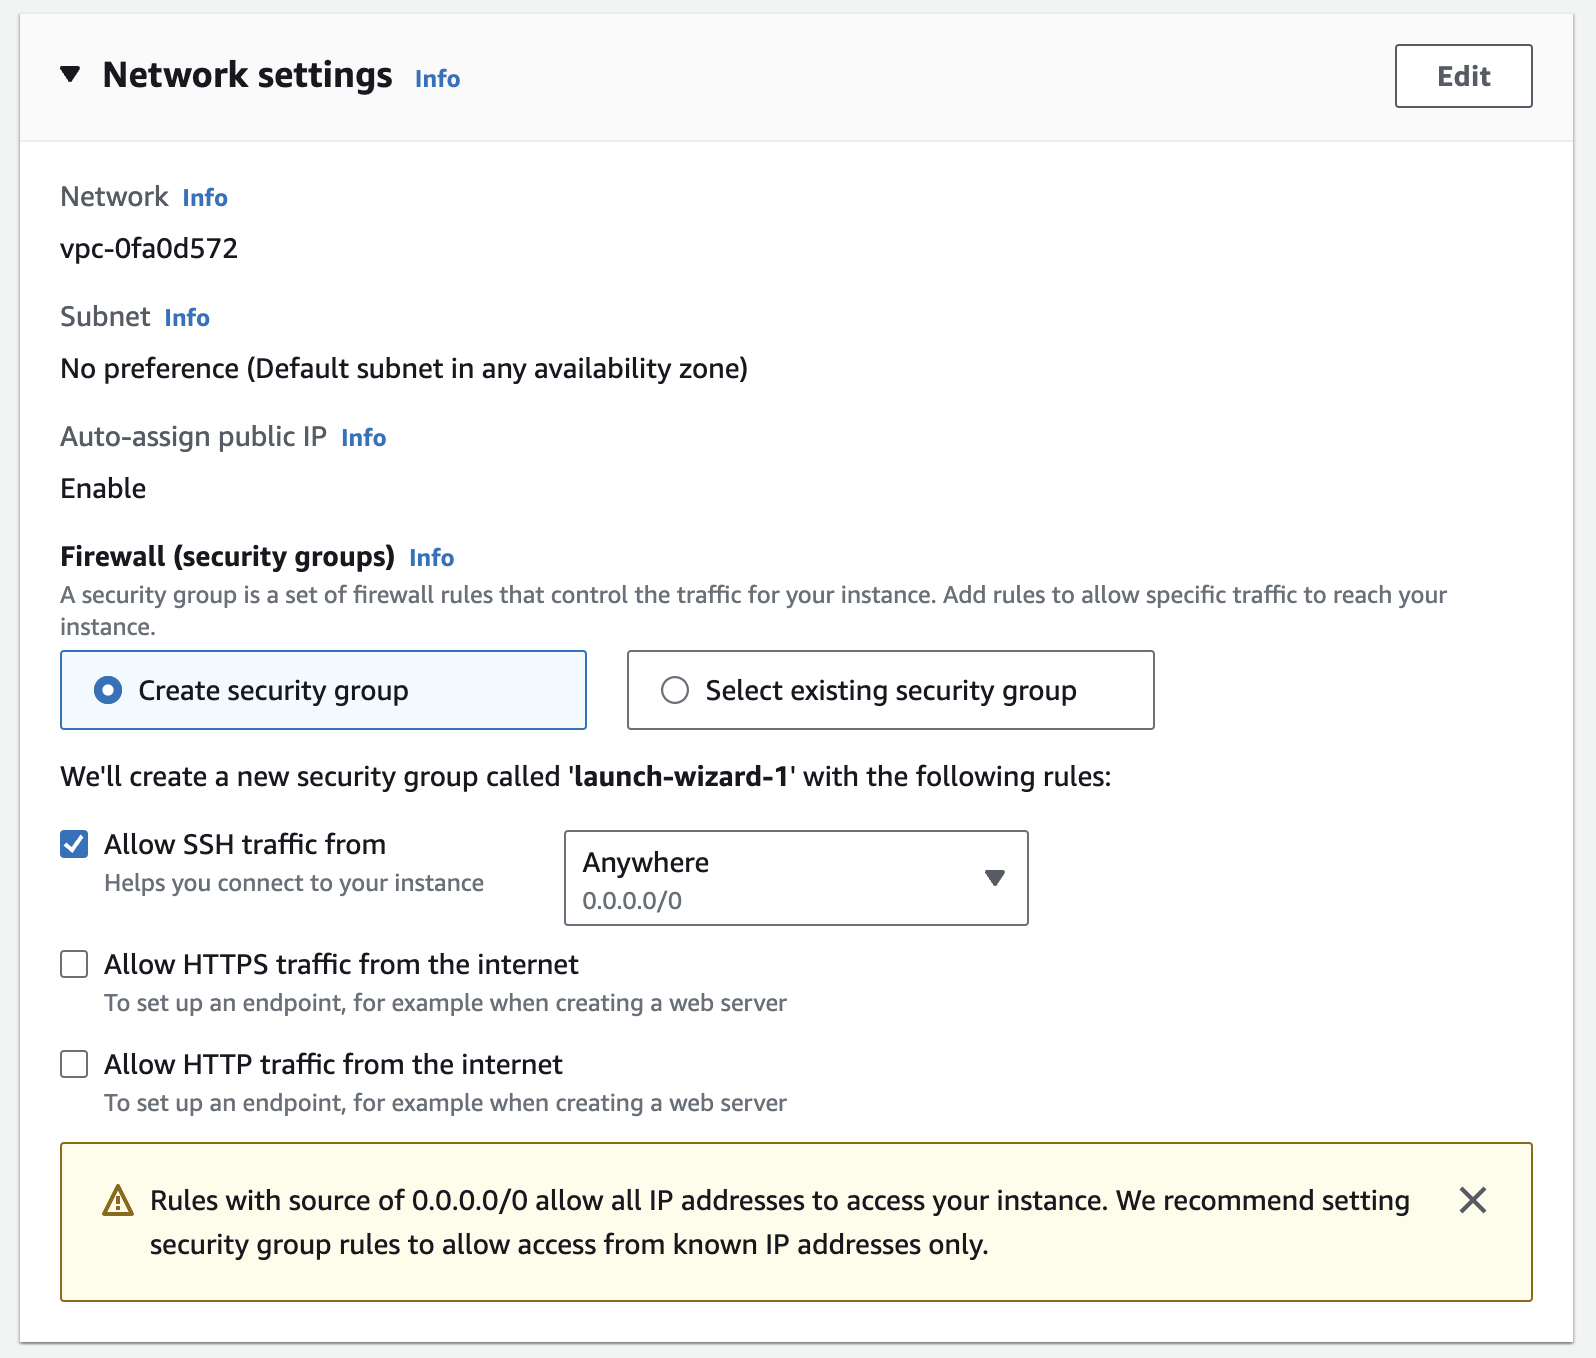
a. Note that the Subnet field can be configured to launch the instance in a specific Availability Zone; while we are keeping the default for this workshop, this gives you control over the location of your machine.
b. Provide a name for your new security group. NOTE: For the purpose of this lab use your “[Your initials]-sec-group”.
c. Confirm an existing SSH rule exists which allows TCP port 22.
d. To accept connections from anywhere, select the drop-down box under the Source type column and select Anywhere which will correspond to 0.0.0.0/0.
아래와 같은 내용입니다. 각자 내용은 조금씩 상이하지만 이번 실습에서 별도로 수정할 것은 없습니다.
본 예제에서는 launch-wizard-1 이라는 이름으로 보안 그룹 (Security Group)이 만들어지게 됩니다.
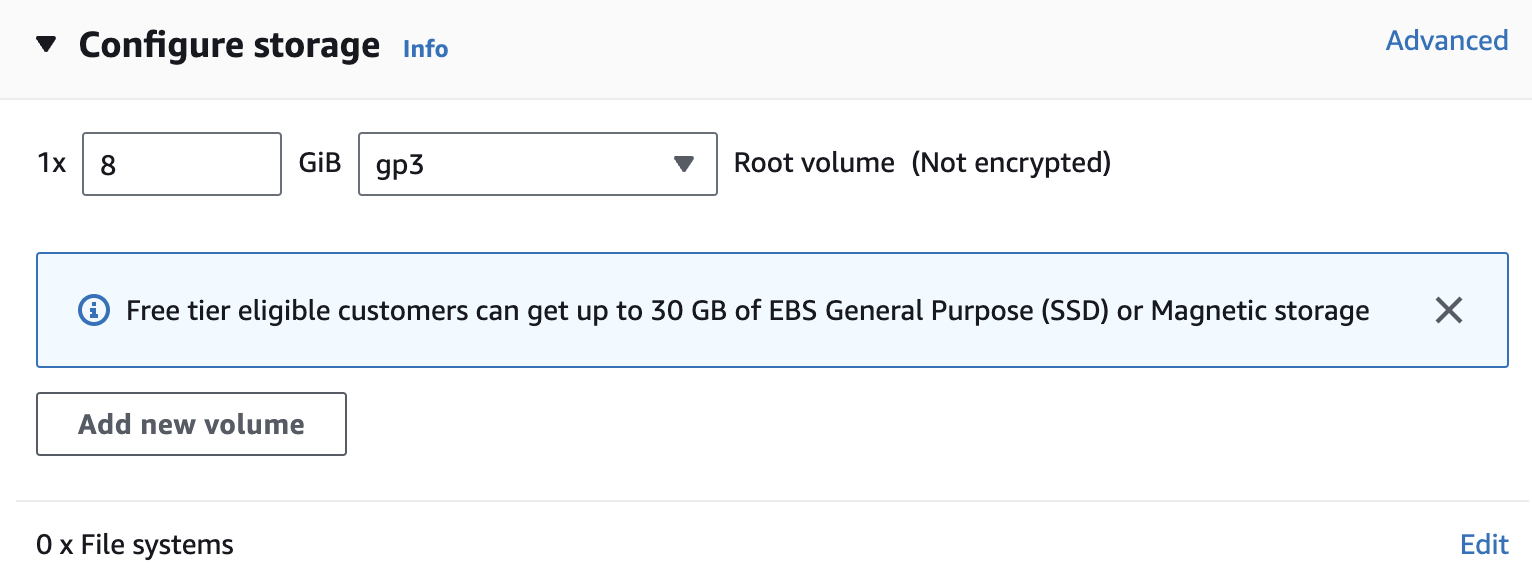
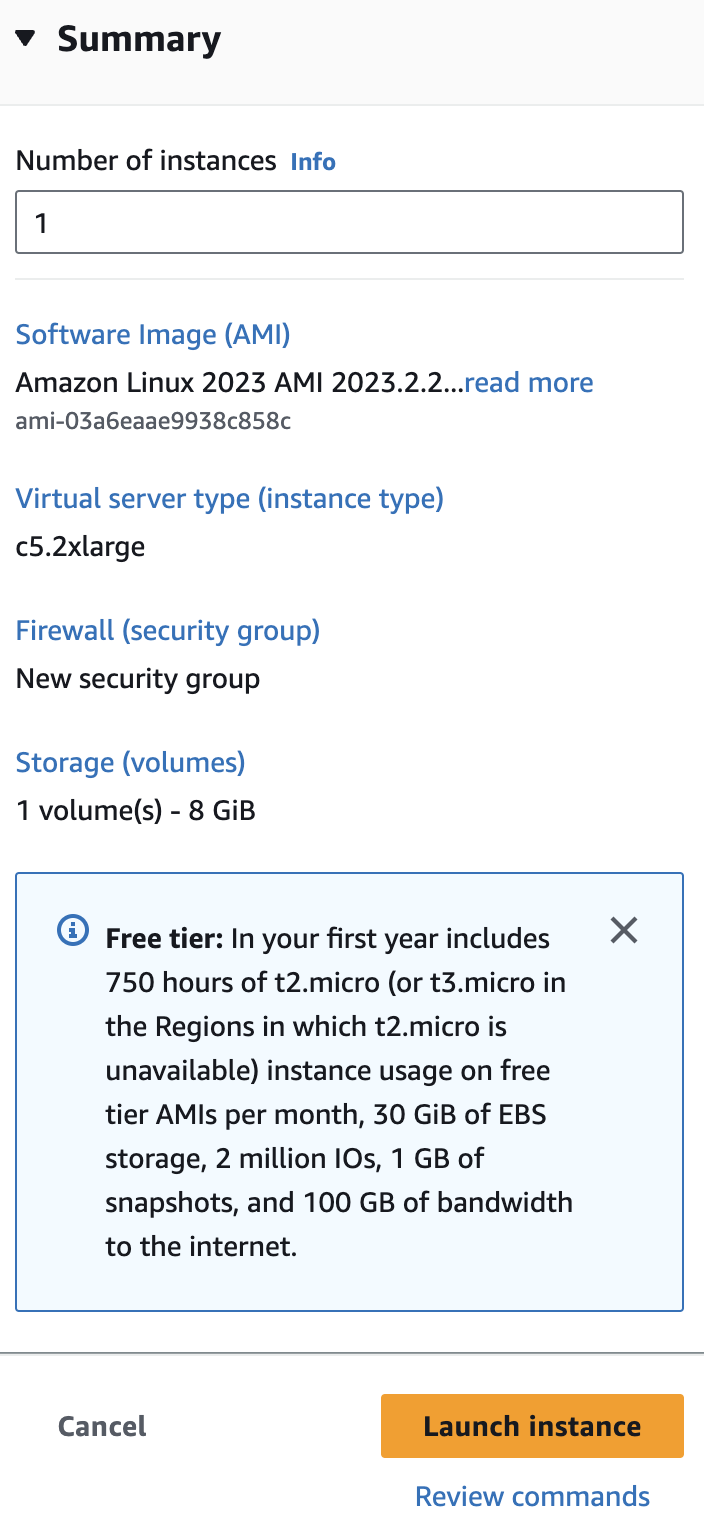
Your instance will now start, which may take a moment. You will be shown the Launch Status page with the message Successfully initiated launch of instance.
워크샵 스튜디오 환경에서 실습시 생성없이 바로 AWS CLI credential을 사용할 수 있음.